AMP Kullanımı 4
Amp Elementinin Kullanımı
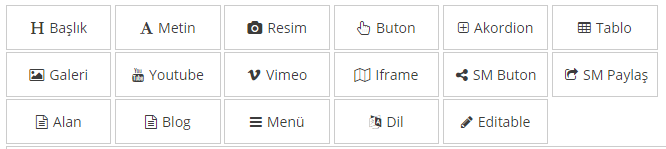
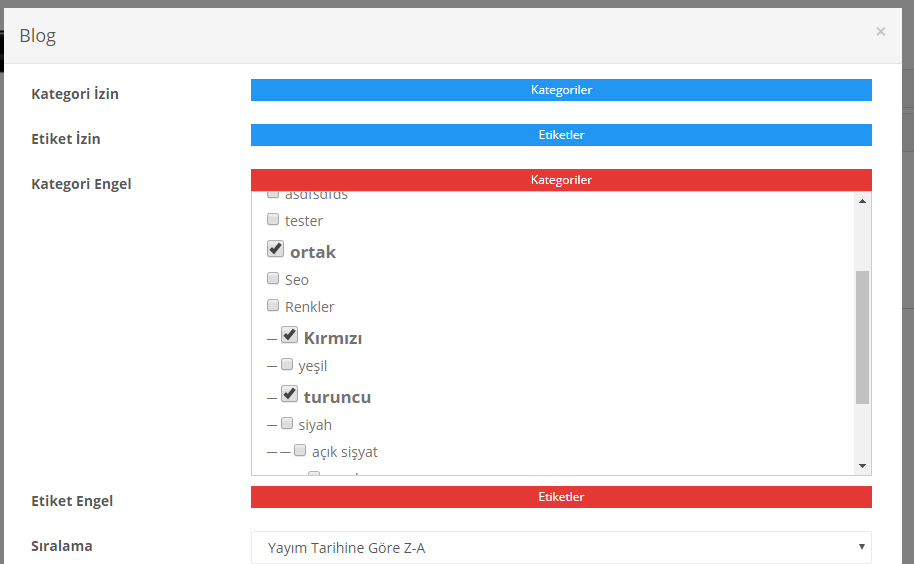
Blog
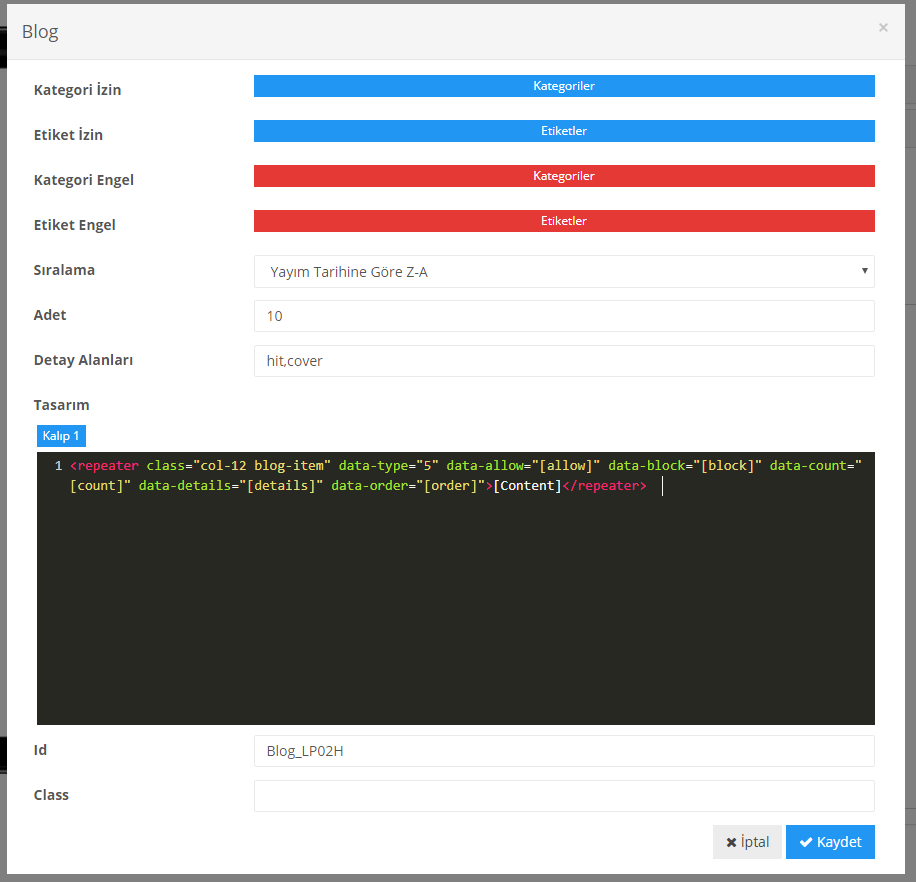
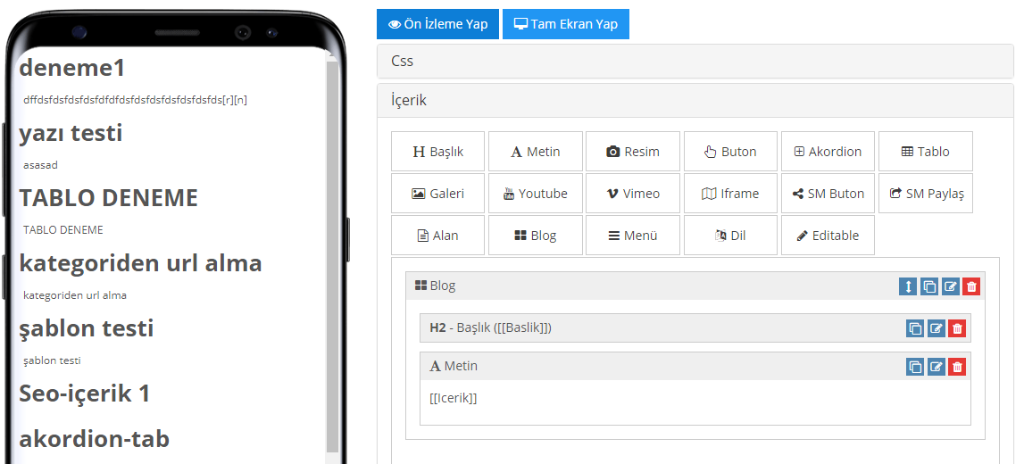
İster nesneler ile döngüye girecek kalıbı hazırlayın. isternizde kodlama ile. Tamamen esnek bir yapı.
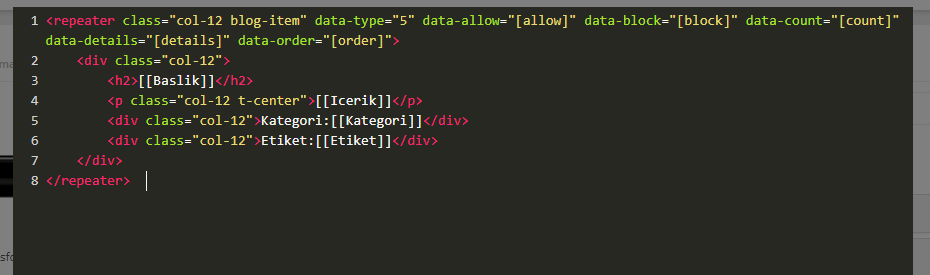
Kısa kodlar
Index = [[Index]]
Count = [[Count]]
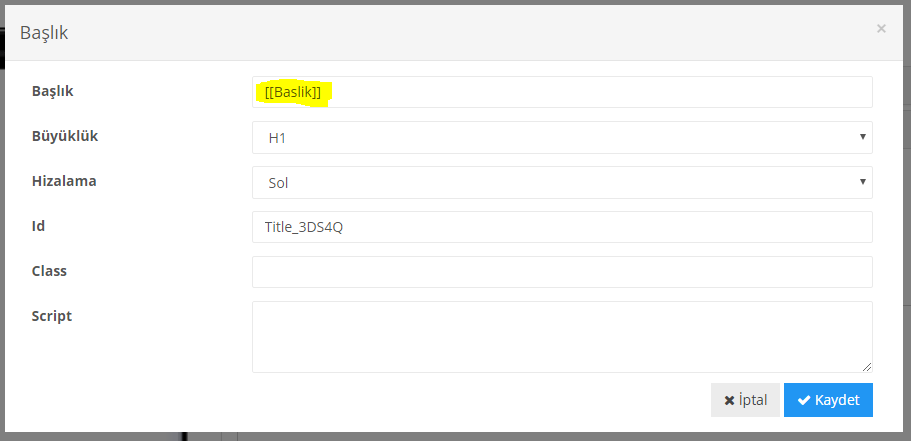
Baslik = [[Baslik]]
Icerik = [[Icerik]]
Tarih = [[Tarih]]
Saat = [[Saat]]
Gun = [[Gun]]
Ay = [[Ay]]
Yil = [[Yil]]
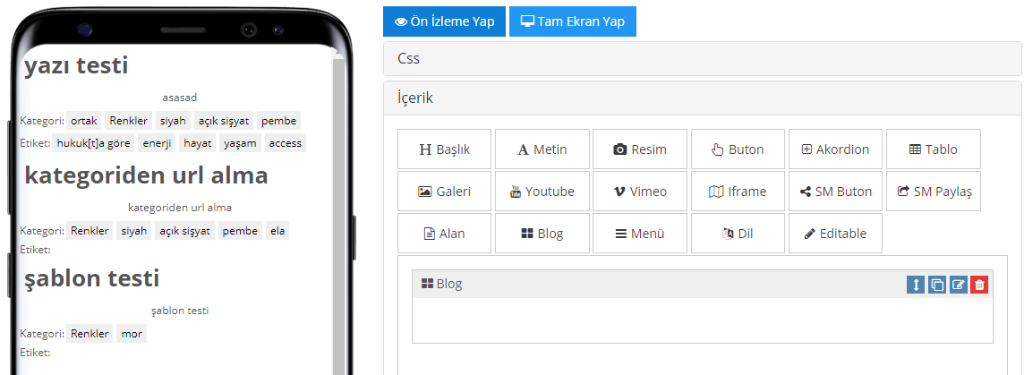
Kategori = [[Kategori]]
Etiket = [[Etiket]]
Yazar = [[Yazar]]
Yorum = [[Yorum]]
Url = [[Url]]
Gorsel = [[Gorsel]]
Ek Detaylar Kullanımı
Hit = [[Hit]]
Lightbox Kullanımı1. Alan nesnesi oluşturun (Id,Content)-> <amp-lightbox id="[Id]" layout="nodisplay"><div class="lightbox" on="tap:[Id].close" role="button" tabindex="0">[Content]</div></amp-lightbox>2. Buton nesnesi oluşturun. Script -> tap:[Id]"
Resim Lightbox KullanımıÖrnek 1->1. Alan nesnesi oluşturun (Id)-> <amp-image-lightbox id="[Id]" layout="nodisplay"></amp-image-lightbox>2. resim nesnesi oluşturun. Href olmayacak. Script -> tap:[Id]
Örnek 2->1. Alan nesnesi oluşturun (Id,Content,Text)-> <amp-image-lightbox id="[Id]" layout="nodisplay"></amp-image-lightbox><figure>[Content]<figcaption>[Text]</figcaption></figure>2. Resim nesnesi oluşturun. Href olmayacak. Script -> tap:[Id]3. Resim nesnesini conntent içerisine girecek
Facebook Post Kullanımı1. Alan nesnesi oluşturun (Genişlik, Yükseklik, Paylaşım linki)Örnek 1-> <amp-facebook width="552" height="303" layout="responsive" data-href="https://www.facebook.com/zuck/posts/10102593740125791"></amp-facebook>Örnek 2-> <amp-facebook width="552" height="310" layout="responsive" data-embed-as="video" data-href="https://www.facebook.com/zuck/videos/10102509264909801/"></amp-facebook>
Twitter Post Kullanımı1. Alan nesnesi oluşturun (Genişlik, Yükseklik, Twit Id, Kart Durumu)Örnek 1-> <amp-twitter width="375" height="472" layout="responsive" data-tweetid="638793490521001985"></amp-twitter>Örnek 2-> <amp-twitter width="390" height="330" layout="responsive" data-tweetid="585110598171631616" data-cards="hidden"></amp-twitter>
Instagram Post Kullanımı1. Alan nesnesi oluşturun (Genişlik, Yükseklik, Kısa Kodu, Captioned Durumu)Örnek 1-> <amp-instagram data-shortcode="1totVhIFXl" width="1" height="1" layout="responsive"></amp-instagram>Örnek 2-> <amp-instagram data-shortcode="_hIitKIFcg" width="600" height="450" layout="responsive"></amp-instagram>Örnek 2-> <amp-instagram data-shortcode="BMQ8i4lBTlb" data-captioned width="1" height="1" layout="responsive"></amp-instagram>
Pinterest Post Kullanımı1. Alan nesnesi oluşturun (Genişlik, Yükseklik, Url)Örnek 1-> <amp-pinterest width="236" height="326" data-do="embedPin" data-url="https://www.pinterest.com/pin/228065168607834583/"></amp-pinterest>
Paralax Efekti Kullanımıhttps://ampbyexample.com/components/amp-fx-flying-carpet/
1. Alan nesnesi oluşturun (Id, Height px, Content) -> <amp-fx-flying-carpet class="paralax-[Id]" height="[Height]">[Content]</amp-fx-flying-carpet>2. Css ile arkaplan veya büyük boyutta resim uygulayınÖrnek 1-> .paralax-[Id] { background: orange; } Örnek 2-> .paralax-[Id] { background-image: url(/img/landscape_lake_1280x857.jpg); }
Dailymotion Kullanımı1. Alan nesnesi oluşturun (Genişlik, Yükseklik, Video Id, Renk Kodu, Logo Durumu, Info Durumu)Örnek 1-> <amp-dailymotion data-videoid="x1r0aw6" layout="responsive" data-ui-highlight="FF4081" width="480" height="270"></amp-dailymotion>Örnek 2-> <amp-dailymotion data-videoid="x1r0aw6" layout="responsive" data-ui-logo="false" data-info="false" width="480" height="270"></amp-dailymotion>
Dailymotion Kullanımı1. Alan nesnesi oluşturun (Genişlik, Yükseklik, Video Id, Renk Kodu, Logo Durumu, Info Durumu)Örnek 1-> <amp-dailymotion data-videoid="x1r0aw6" layout="responsive" data-ui-highlight="FF4081" width="480" height="270"></amp-dailymotion>Örnek 2-> <amp-dailymotion data-videoid="x1r0aw6" layout="responsive" data-ui-logo="false" data-info="false" width="480" height="270"></amp-dailymotion>
Video Kullanımı1. Alan nesnesi oluşturun (Genişlik, Yükseklik, Src, Poster, Artwork AutoPlay, Title, Album, Artist, Controls)Örnek 1-> <amp-video width="480" height="270" src="/video/tokyo.mp4" poster="/img/tokyo.jpg" layout="responsive" controls><div fallback><p>Your browser doesn't support HTML5 video.</p></div><source type="video/mp4" src="/video/tokyo.mp4"><source type="video/webm"src="/video/tokyo.webm"></amp-video>Örnek 2-> <amp-video width="480" height="270" src="/video/tokyo.mp4" poster="/img/tokyo.jpg" layout="responsive" controls autoplay><div fallback><p>Your browser doesn't support HTML5 video.</p></div><source type="video/webm" src="/video/tokyo.webm"></amp-video>Örnek 3-> <amp-video autoplay src="https://commondatastorage.googleapis.com/gtv-videos-bucket/sample/BigBuckBunny.mp4" poster="https://peach.blender.org/wp-content/uploads/bbb-splash.png" artwork="img/bigbuckbunny.jpg" title="Big Buck Bunny" album="Blender" artist="Blender Foundation" width="720" height="405" layout="responsive"controls></amp-video>
Audio Kullanımı1. Alan nesnesi oluşturun (Genişlik, Yükseklik, Src, Artwork, Title, Album, Artist, Controls)Örnek 1-> <amp-audio width="auto" height="50" src="https://ia801402.us.archive.org/16/items/EDIS-SRP-0197-06/EDIS-SRP-0197-06.mp3"><div fallback><p>Your browser doesn’t support HTML5 audio</p></div></amp-audio>Örnek 2-> <amp-audio src="https://storage.googleapis.com/media-session/sintel/snow-fight.mp3" artwork="https://storage.googleapis.com/media-session/sintel/artwork-512.png" title="Snow Fight" album="Jan Morgenstern" artist="Sintel" height="50" width="auto" controls></amp-audio>
Pixel Kullanımı 1. Alan nesnesi oluşturun (Src)Örnek 1-> <amp-pixel src="https://ampbyexample.com/tracker/foo" layout="nodisplay"></amp-pixel>Örnek 2-> <amp-pixel src="https://ampbyexample.com/tracker/foo?redirectTime=REDIRECT_TIME&sourceHost=SOURCE_HOSTNAME&viewer=VIEWER" layout="nodisplay"></amp-pixel>Örnek 3-> <amp-pixel src="https://ampbyexample.com/tracker/foo" layout="nodisplay" referrerpolicy="no-referrer"></amp-pixel>
User Notification Kullanımı1. Alan nesnesi oluşturun (???) Örnek 1 -> <amp-user-notification id="my-notification"layout="nodisplay"><div>This is an amp-user-notification. It uses local storage to store the dismissed state.<button on="tap:my-notification.dismiss"class="ampstart-btn caps ml1">I accept</button></div></amp-user-notification>2. Css -> amp-user-notification > div { padding: 1rem; display: flex; align-items: center; justify-content: center; }
Önceki - Sonraki Yazı Kullanımı1. Alan nesnesi oluşturun2. içine 2 tane alan nesnesi oluşturun (1/2)3. Bunların içlerine biren buton oluşturun.4. Önceki Butonu içinMetin: [Kod-Amp-Onceki-Baslik]Hizalama: Solİkon: fa fa-chevron-leftİkon Hizalama: SolUrl: [Kod-Amp-Onceki-Url]Class: [Kod-Amp-Onceki] before-page5. Sonraki Butonu İçinMetin: [Kod-Amp-Sonraki-Baslik]Hizalama: Sağİkon: fa fa-chevron-leftİkon Hizalama: SolUrl: [Kod-Amp-Sonraki-Url]Class: [Kod-Amp-Sonraki] after-page
Carousel altta resim çıkartma1. Alan nesnesi oluşturun (CarouselId) <div class="carousel-preview"> <button on="tap:[CarouselId].goToSlide(index=0)"><amp-img src="images/image1.jpg" width="60" height="40" alt="apples"></amp-img> </button> <button on="tap:[CarouselId].goToSlide(index=1)"><amp-img src="images/image2.jpg" width="60" height="40" alt="lemons"></amp-img> </button> <button on="tap:[CarouselId].goToSlide(index=2)"><amp-img src="images/image3.jpg" width="60" height="40" alt="blueberries"></amp-img> </button></div>
© Copyright 2017 - Her hakkı saklıdır.